Everything you need to get started. Nothing you don’t.
Creating your ilanoShop store is a guided setup process designed to get you from idea to usable storefront quickly. You’ll choose your store URL, define your business profile, select a template, and create your account — all in one flow.
This guide walks you through what to do at each step and what to expect after signup.
Where to start
Open the tenant signup page: https://www.ilanoshop.com/signup/tenant
This is the entry point for creating a new store (tenant) on ilanoShop.
Step 1 — Store (name + URL)
Start by entering:
Store name (required)
Store URL / slug (required)
Your slug is checked in real time for availability.
Why this matters
Your slug reserves your default ilanoShop subdomain, for example:
This becomes your store’s default address until you connect a custom domain later.
Quick tips for choosing a slug
Keep it short and easy to type
Use your brand name if available
Have 2–3 alternatives ready in case your first choice is taken
Step 2 — Business Profile
Next, you’ll be asked for your business profile details.
Required
Business type
Brand voice
Optional
Target audience
Mission statement
Unique selling points (USPs)
Why ilanoShop asks for this
ilanoShop uses your business type and brand voice to generate better starter content for your storefront. This helps prevent empty sections and weak placeholder text.
You can edit the generated content later.
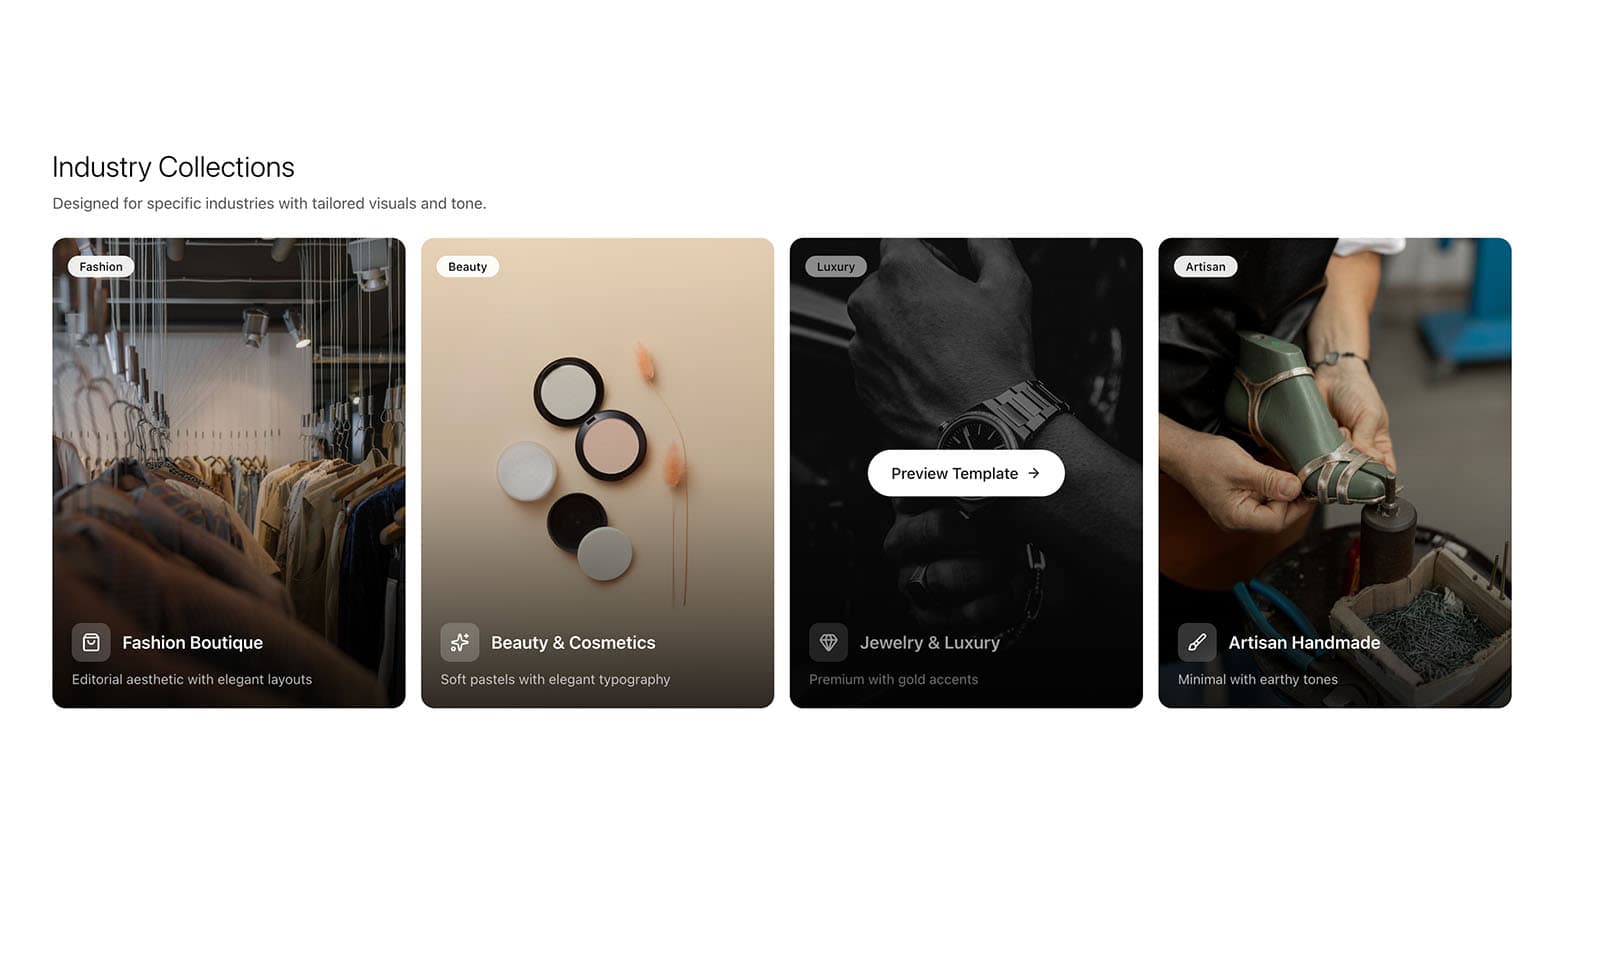
Step 3 — Template
Choose a storefront template to start with. Your template selection is saved to your tenant and gives your store an initial design structure. You can customise and refine it later.
Tip
Don’t overthink this step. Choose the template that feels closest to your business style and move forward — you can improve it after signup.
Step 4 — Content (AI / auto-generated)
ilanoShop generates starter storefront copy based on the information you provided in the Business Profile step.
This is designed to help you launch faster with a usable starting point.
What to expect
Quick generation step
Starter copy tailored to your business profile
Content is editable later
Step 5 — Colors
Choose an accent colour for your storefront.
This colour is saved as part of your branding defaults and is used across your store experience.
Tip
Choose a colour that matches your logo or general brand feel (if you already have one).
Step 6 — Account
Create your ilanoShop account by entering:
Email (required)
Password (required)
The system validates:
email format
password strength
Use an email address you can access immediately, because you’ll need it for verification.
Step 7 — Verify
Complete the email verification step to confirm your account.
This helps secure your store and ensures your onboarding can be completed successfully.
If the email doesn’t arrive, check:
spam/junk folder
promotions tab
email spelling
(See also: Email Verification Issues During Store Signup)
Step 8 — Complete
Once verification is complete:
your tenant is created
your settings are saved
your storefront is ready for editing
At this point, you’ve completed onboarding and can move into setup tasks like profile completion, payments, shipping, and launch prep.
What gets saved during onboarding
During this process, ilanoShop saves:
your tenant/store record (with default plan and limits)
your unique slug/subdomain
your business profile (used for content generation and defaults)
selected template
accent colour
Good to know
A custom domain is optional and can be connected later.
⚠ Heads up
Onboarding is designed to get you started fast — not to make everything perfect.
You can still edit later:
business info
generated content
template
branding
The goal is to create a usable storefront first, then refine.
→ Next
What to Expect During Store Signup (for a quick overview you can share with team members)
Complete Your Store Profile Before Launch (recommended next step)